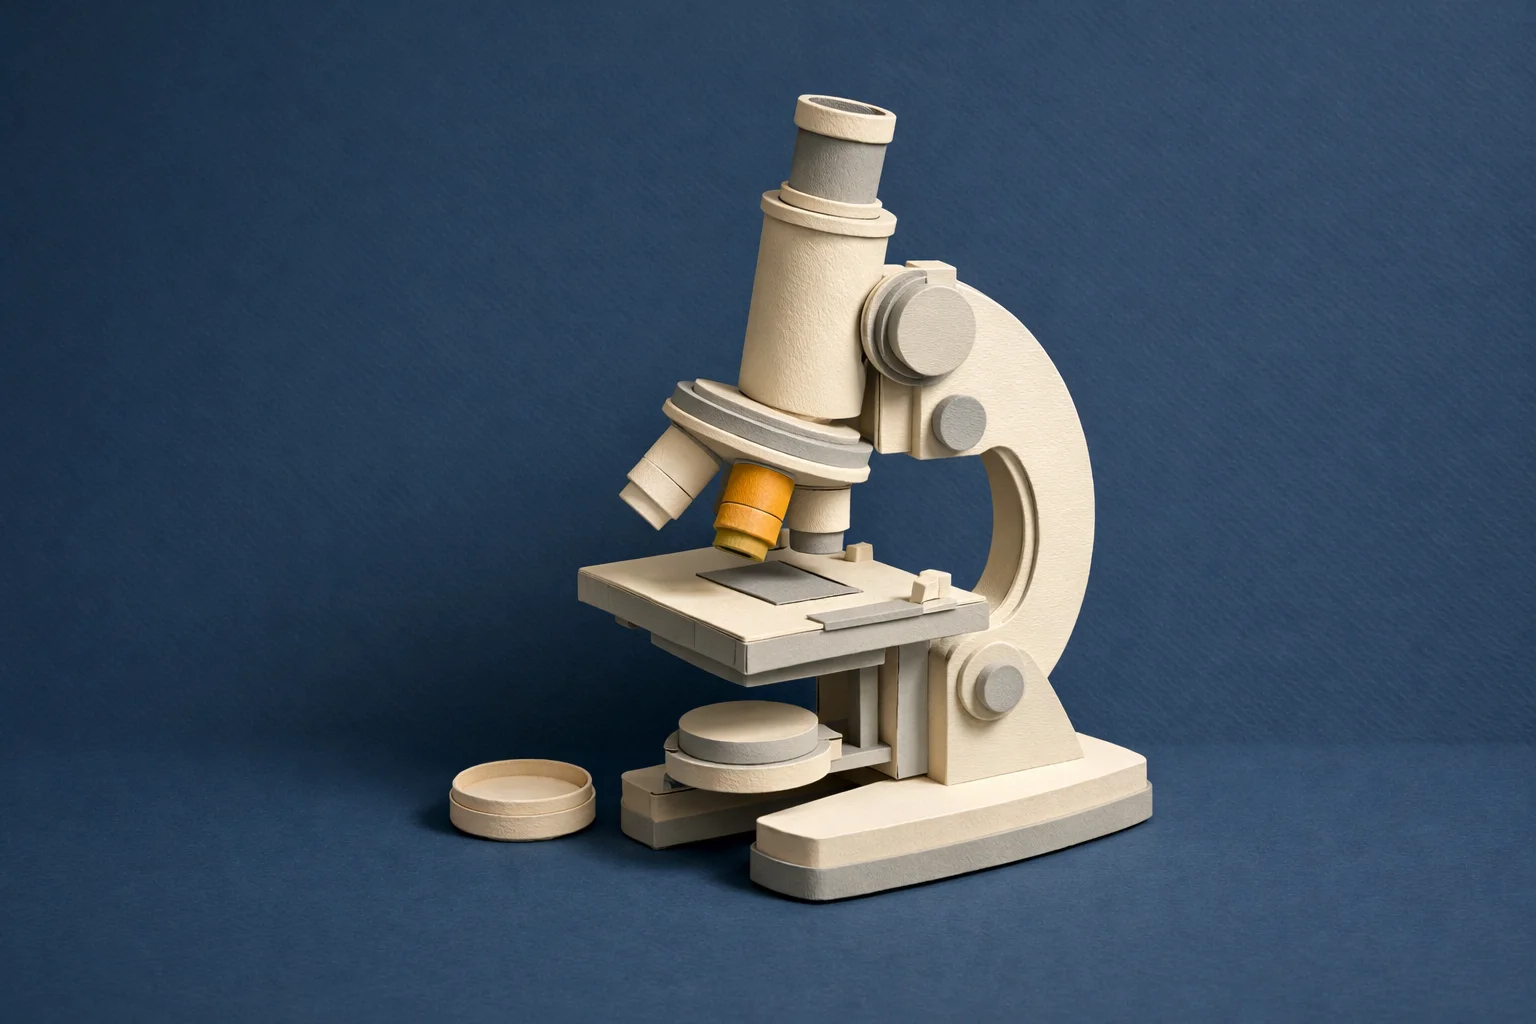
Microscope Labeling Game: Label a Compound Light Microscope
True / False
True / False
True / False
Put in order
Put in order
Put in order
Frequent Compound Microscope Labeling Errors (and Fast Fixes)
Most labeling misses come from mixing up parts that sit close together (above vs below the stage) or that share similar names (diaphragm vs condenser). Use location first, then function, then “what it connects to.”
Confusing the condenser with an objective lens
Fix: Objectives are mounted on the revolving nosepiece above the stage and point down at the slide. The condenser is a lens system below the stage that shapes illumination before it reaches the specimen.
Swapping iris diaphragm, condenser, and “diaphragm” labels
Fix: The iris diaphragm is the adjustable aperture (often a small lever) that changes the cone of light; it’s commonly integrated into the condenser. Some student microscopes use a rotating disk instead of an iris—still a diaphragm, but without an iris lever.
Labeling coarse and fine focus backwards
Fix: The coarse focus is the larger knob for rapid stage movement at low power; the fine focus is smaller and used to sharpen at higher power. If a tiny turn causes a big jump at 40×, you’re on the coarse knob and risking contact with the slide.
Mixing up stage clips/slide holder vs X–Y stage controls
Fix: Clips/holders secure the slide. X–Y controls translate the slide left–right and forward–back without touching the glass; they’re usually paired knobs protruding from the side of the stage.
Calling the nosepiece an “objective” (or vice versa)
Fix: The revolving nosepiece (turret) is the rotating mount. The objectives are the individual lenses threaded into it (typically 4×, 10×, 40×, 100×).
Forgetting magnification is a multiplication problem
Fix: Total magnification = ocular × objective. Report the product (for example, 10× ocular with 40× objective = 400×), not the objective power alone.
Trusted References for Compound Light Microscope Parts and Controls
Use these references to confirm part names across different microscope brands and diagram styles (especially condenser/diaphragm terminology and stage controls).
- CDC: Sections of the Microscope (Job Aid PDF) — Concise definitions of oculars, objectives, condenser diaphragm, field diaphragm, and focus knobs for lab training.
- Idaho State University: Microscopes (parts + functions) — Clear part-by-part descriptions, including iris diaphragm, stage controls, and objective set conventions.
- Medicine LibreTexts: Microscope Components — Labeled component list with functions and practical notes (e.g., where the condenser and diaphragm lever are located).
- OpenStax Microbiology: Instruments of Microscopy — Solid overview of compound brightfield microscopy terms (oculars, objectives, magnification vs resolution) in a textbook context.
- Buffalo State: Microscopy – Cells (Lab PDF) — Includes a labeled compound microscope parts section and reminders about safe focusing at higher magnifications.
Compound Light Microscope Labeling Questions, Answered
How can I tell the condenser from an objective in a microscope picture?
Start with the stage as your landmark. Objectives are the short lenses attached to the revolving nosepiece above the stage and aimed down at the slide. The condenser is the lens assembly below the stage, aligned with the stage opening, and it belongs to the illumination system.
Where is the iris diaphragm, and what does it actually change?
The iris diaphragm is an adjustable aperture (often controlled by a small lever) usually located on or within the condenser under the stage. It changes the aperture of the light cone entering the objective, which strongly affects contrast and resolution—so it’s more than a “brightness” control.
What’s the difference between the light intensity knob and the diaphragm?
The light intensity control (rheostat) changes how much light the lamp emits. The diaphragm changes how that light is shaped before it reaches the specimen. If an image is dim at higher magnification, increase lamp intensity first, then fine-tune contrast with the iris diaphragm.
Which focusing knob should be used at 40× or 100× to avoid crashing the slide?
At high power, use the fine focus knob for small, controlled adjustments. The coarse focus moves the stage (or objective) too quickly and can drive the lens into the slide, especially because working distance is much smaller at 40× and 100×.
How do I label stage clips versus mechanical stage controls?
Stage clips (or a slide holder) simply secure the slide on the stage. Mechanical stage controls are the paired X–Y knobs that move the slide left/right and forward/back for scanning. In most photos, the X–Y knobs protrude from the side of the stage as a matched pair.
How do I compute total magnification from labeled parts?
Total magnification is the ocular (eyepiece) magnification multiplied by the objective magnification. If the eyepiece is 10× and you select the 40× objective, you should report 400×. This multiplication is what matches the apparent size you see through the microscope.